How Do You Split Bundles Using Code Splitting in ReactJS
•10 min read
- Languages, frameworks, tools, and trends
- Skills, interviews, and jobs

Code splitting is a method of separating large files into smaller bundles. This authorizes the codes to be requested on-demand or downloaded simultaneously. Although it is not a brand-new concept, it can be tricky to understand.
Code-splitting keeps HTML, CSS, and JavaScript bundle sizes as small as possible. Increasing the size of an application can pose a problem and the result could negatively impact your website's performance.
It is surprising how JavaScript, being a simple language, could produce complicated code bases. A seemingly simple JavaScript program can quickly accumulate a large amount of code due to the many dependencies of the most substantial JavaScript programs and frameworks.
Browsers will load slowly if a project has more code. Because of this, JavaScript dependencies are often sized based on performance expectations. In order to achieve this balance, React code-splitting is a useful tool.
What is code splitting in Reactjs?
A number of bundlers, such as webpack, rollup, and browserify, support code-splitting, which allows multiple bundles to be dynamically loaded at runtime. Websites become heavier as they grow larger and dig deeper into components.
Adding third-party libraries will make them heavier. It is a method of generating dynamically runnable bundles that help to create bundles that can run. In addition, the webpack bundle splitting contains all the required imports and files, so it helps to make the code more efficient.
React code splitting enables you to decide which parts of the page require different JavaScript dependencies. This allows you to omit specific dependencies from bundles and insert them wherever required.
In other words, those elements won't appear until they are needed i.e, loading JavaScript only as necessary reduce page load-time. Even though the page is loading the same amount of code, this result may not be evident at first. This is mainly because not all the code is executed.
It is possible that a dynamic element in a page would cause a noticeable page lag if that element is dependent on a rich library. If that dependency was only loaded when the dynamic element gets used, it could be too small to cause any lag.
Users often decide whether to continue using a web application or leave it based on the speed it provides, as code splitting is usual in large React applications. Studies show that a page should ideally take less than three seconds to impact users, so even decreasing the page load time by fractions of a second can make a big difference.
How do you split bundles in React?
There are many ways to implement React code-splitting, depending on the bundler you're using. You can customize bundling with React regardless of the bundler you use. A popular method among React js developers for splitting webpack bundles is ‘webpack bundle splitting'. Let’s get into how to split bundle in React.
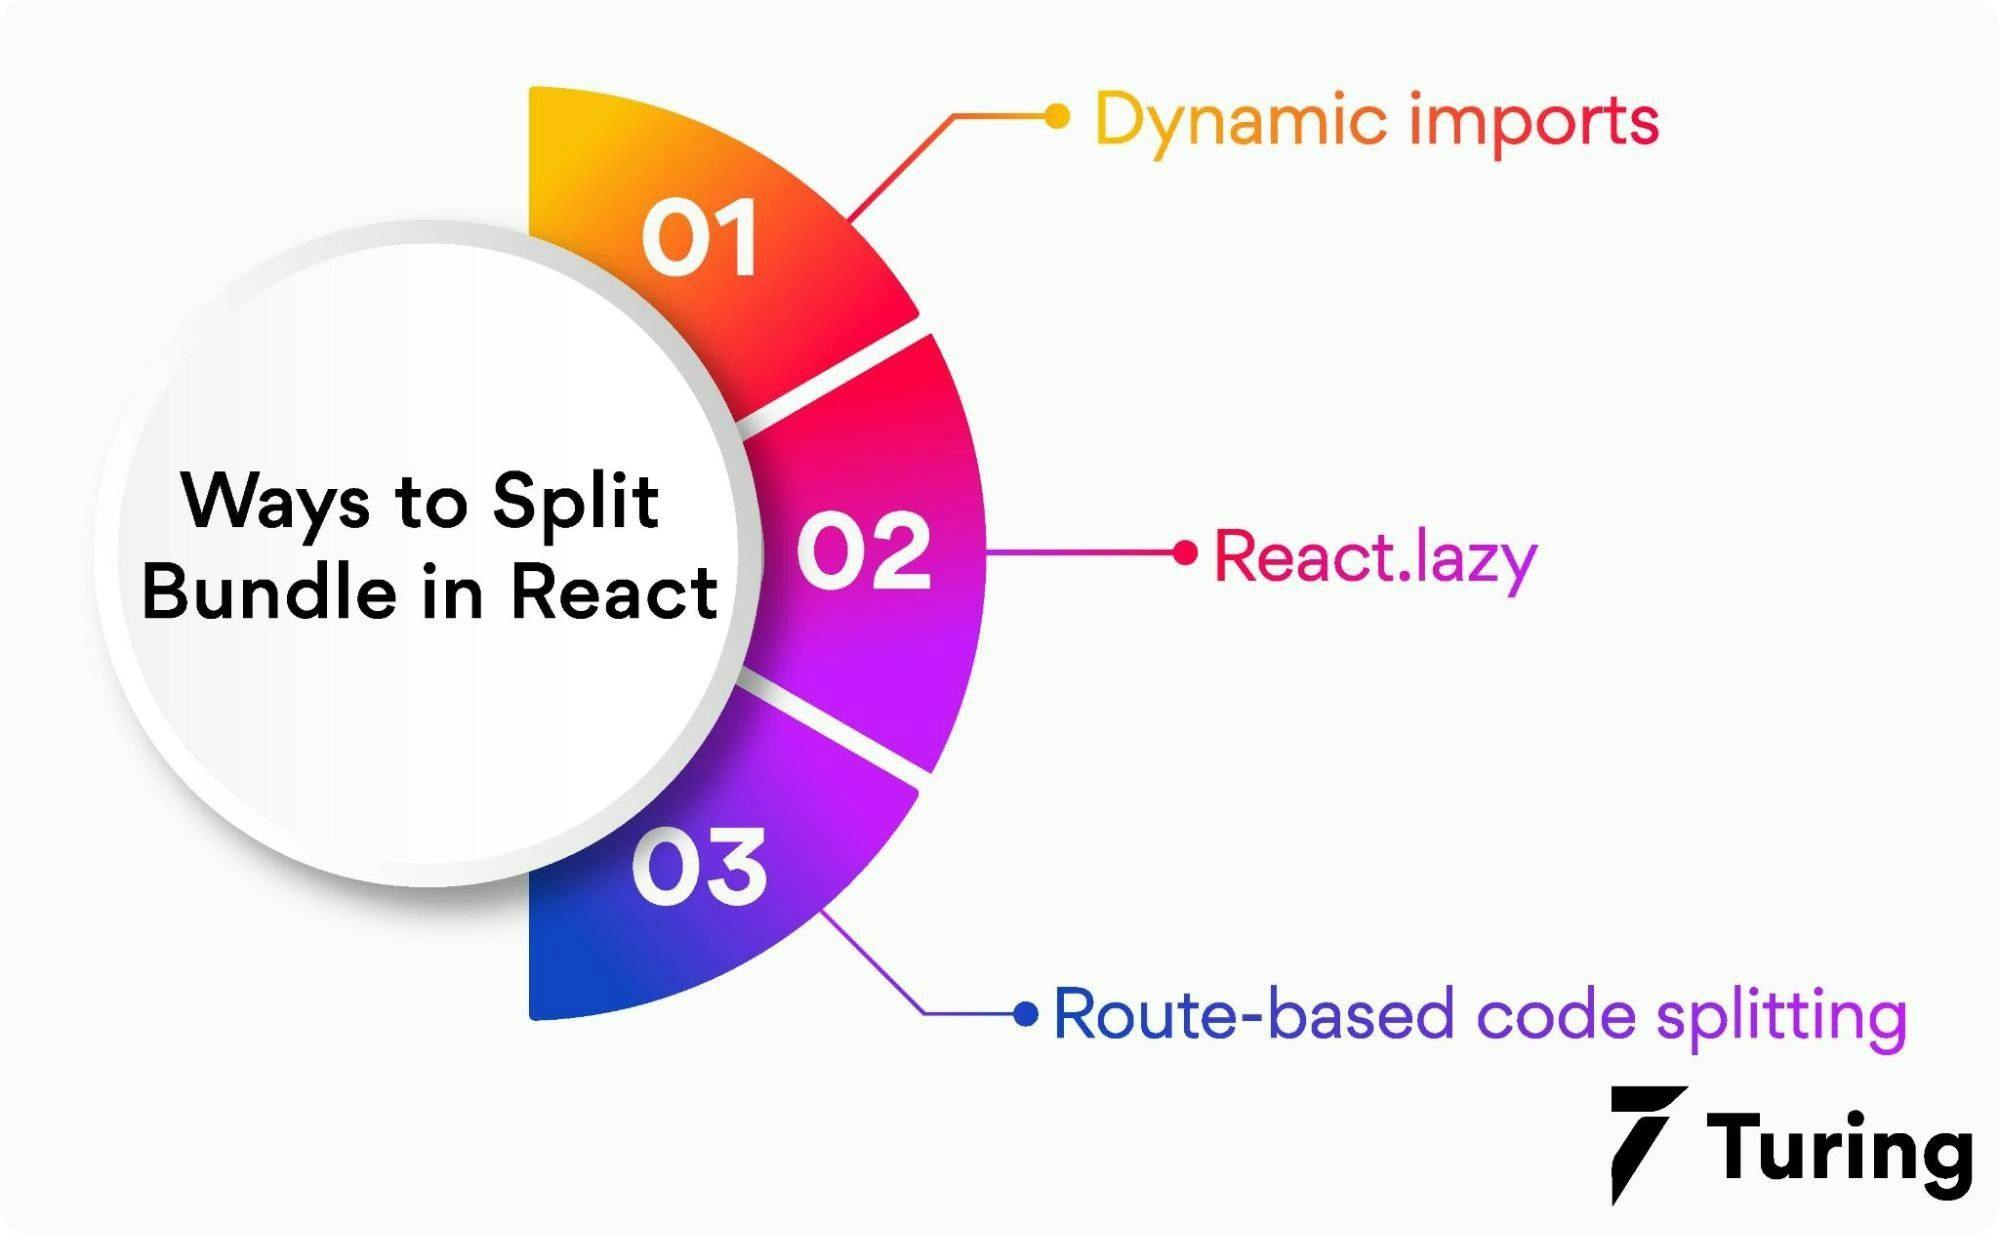
1. Dynamic imports
With dynamic "import" syntax, React allows you to split code simply. Dynamic import statements can be parsed directly by some bundlers, but others require configuration. It is possible to use dynamic import syntax both in server-side rendering and in static site generation.
Dynamic imports allow any component to be a Micro Frontend without being committed to the entire framework. There are several tools that will help you to develop, version, and deploy a component independently.
While the component may get developed independently, it does not necessarily have to be totally independent of the future hosting app. In order to validate whether such future integrations will be successful, tools like Bit offer the Compositions feature to promote manual and automated integration tests.
When importing dynamically, the "then" function is used to import only the code required. This code must be referenced inside the "then" function.
We can split a single bundle into several chunks:
- The initial chunk is responsible for creating the initial route.
- The rest of the chunks contain the unused code.
Dynamic imports enable lazy loading or on-demand loading of secondary chunks. For example, a chunk's code can only get loaded with particular conditions, such as pressing a button.
2. React.lazy
Lazy loading of imports is possible with React.lazy in many situations. Despite the lack of server-side rendering, its extensive features compensates for its lack of server-side rendering.
You can render React elements using the fallback prop while waiting for the component to load. Any position above the lazy component can be used for the Suspense component.
By using the React.lazy function, you can dynamically import dependencies and render them as components. In the event that the dynamic import fails, the component must be rendered within another component that displays fallback content.
The content of error messages can be included, but it is not required. It is necessary to include errors in content by using a particular component called an Error Boundary. To ensure that dynamically loaded components display correctly, the Error Boundary component must be above them.
We should only load certain code/features when any user requests for it, also making sure that rest of the users do not have access to it or the user doesn't use them frequently. As a result, the initial loading time gets reduced, thus, improving user experience.
3. Route-based code splitting
In terms of React code splitting, app routes make sense. The user should be able to load the chunk when they navigate through the route in the application. As part of the webpack, chunks are created and served on demand.
An async component is created by importing the desired component using the dynamic import() function.
Break for plag check 1
Code splitting can be performed without requiring an external package using the React.lazy() and React.Suspense methods. Adding a Suspense component to all route components in your app will allow you to convert them to lazy components. Code splitting based on routes is shown in the following example,
Does code splitting in React improve performance?
There are two distinct phases where JavaScript negatively impacts site speed:
- When loading a page, big bundles take longer to download.
- Parsing and compiling big bundles take longer, resulting in delayed JS initialization.
If your users are on a slow, spotty network, are using a low-power Android device, or are using a device with a low battery, a program with a large bundle size may cause loading delays, rendering delays, and even page scrolling delays.
However, when you are using code splitting in React, you need not worry about using an old device or operating in a slow network in order to create a substantial experience for your users. The only way to create the same is to reduce the size by caching, compressing, and minifying script resources.
Benefits of code splitting
There are several benefits to code-splitting, which includes:
- Drastic reduction of the amount of data available for downloading and parsing (achieving a much quicker Time-to-Interactive).
- A browser can decide when to load different parts of an application based on the physical separation between the parts.
- Administrators can exclude administrative program code to reduce file size and hide sensitive data for regular users.
- Caching improvements can be achieved on the client-side by updating only relevant application parts.
Drawback of code splitting
The disadvantages of React code splitting, of course, is the same as with any technology:
- Although you may not realize it, code splitting requires downloading some data after the page is initialized.
- When the internet connection is down, additional modules cannot be loaded. You need to ensure the user receives an appropriate message in this situation.
- Additional logic is required to load multiple modules when needed.
- To inject each of the bundles into the application, it is necessary to have a header file.
- As a result, loading additional code chunks causes a slight delay (especially when the page or website is loading for the first time).
Getting started with React code splitting
In this example, we'll perform lazy loading both with and without React Suspense.
Step 1: Create a React application using the command - npm create-react-app
Step 2: Next, run the app from the root of your project directory by running the following command.
This will launch the default react app at your local server.
Step 3: App.js will be rendered first, which contains an input field. The input we receive will be passed to Home as an argument, and Home.js will be rendered. Depending on the argument received, either admin or client will be rendered.
As we have mentioned, we are intending to perform lazy loading with both methods. Here is the process:
Using React Suspense (React ver 16.6+)
Lazy loading is now supported in React 16.6 and up because of React Suspense function.
The traditional way of importing any library or file is,
But using React lazy loading we are going to lazy load admin.js and client.js in our Home.js file
Without React Suspense
You won't have the Suspense component if you're using any previous version of React than 16.6. We recommend upgrading to the newest version. In the case you cannot upgrade but still want this functionality, you may create your own React Suspense component. For this, we will use Higher-Order Components (HOCs).
So in this case, our Home.js will look like this. For lazy loading, we will use the following approach instead of regular import statements:
As you can see in both above codes, we have tried to apply lazy loading in almost the same way, so that there is no issue with whether you you are using React 16.6+ or not. If you want to use all the features of this program, it is recommended that you upgrade to the latest version.
With the development of web applications, more JavaScript files gradually get included on a page. It will increase the page weight dramatically. For example, if you use tools like jQuery, Vue, React, Lodash, Axios, etc.
In this case, a helpful practice is to use webpack bundle splitting files into your code. There are diverse methods available like routing-based react code splitting and dynamic imports (lazy load). Still, it is suggested that you focus on creating a React app code-splitting method since it's easy to set-up and maintain, and it's also suitable for all cases even when you employ routing. But there is a caveat while using this method which we are going to discuss in the end.
One of the reasons that developers might want to split their code bundle is to create something that can be loaded parallely. It will reduce the load time of your application and give users low wait time.
FAQs
1. What Is Code Splitting In ReactJs?
Code splitting is the process of splitting the entire code into various chunks. Those chunks can get loaded whenever they are needed.
As the code of the application grows, it increases complexity also. It results in an increase in JavaScript files and a huge third-party library size.
To avoid this requirement of downloading various files, the developer can split the script into smaller files. Those files can get loaded when code inside that file is needed. For this, developers prefer the lazy-loading method. This method gets executed when the page or application is interactive and improves the overall performance of an application.
While the entire code is the same, only necessary code gets executed during the initial page load.
Developers can perform code splitting by using bundlers like Webpack and Browserify. These bundlers convert the entire code into multiple bundles that get loaded during runtime.
2. What Is Bundle Splitting?
You can reduce the size of your bundle by splitting it. It reduces the payload size of your application as well as speeds up the application loading time.
Bundling is best for small-sized applications. But when your app size grows, it will increase your bundle size too. It includes installed third-party libraries. You should keep track of application size while adding such libraries. Otherwise, it will take a long loading time.
To avoid such problems with large bundles, you should start splitting your bundle.
Bundlers like Webpack and Browserify allow code-Splitting process. With these bundlers, you can create many small bundles. Then you can load them at runtime. This feature can improve the performance of your app.
3. What Are Code Splitting Techniques?
Code splitting is a technique used in JavaScript that allows developers to divide the code into multiple bundle files rather than executing one file. By default, all the source code and dependencies get included in a single file. But with the code splitting technique, you can split that single source code file into multiple files.
React Native will execute the bundle at the entry point of an application, and then divided chunk files will get loaded as per demand.
Code splitting is a technique to create multiple code files which, as collected contains, all the application code, but they will load later as per demand.