Jupyter (IPython) Notebook: How to Use the Application
•5 min read
- Languages, frameworks, tools, and trends
- Skills, interviews, and jobs

Jupyter is the go-to application for learning and writing Python as well as performing data processing, numerical simulation, statistical modeling, and machine learning. It’s an open-source software that’s free to use. Developed and maintained by Project Jupyter, a non-profit project born out of the IPython Project in 2014, its name is derived from Julia, Python, and R, the core programming languages that it supports.
This article will provide a detailed, step-by-step guide on installing and running the Jupyter (IPython) Notebook on your personal computer without using a remote server. This will include directives for creating a notebook, adding content, exporting notebooks, notebook extensions, etc.
What is the Jupyter (IPython) Notebook?
The Jupyter Notebook (formerly called IPython Notebook) is a web application that lets you create and share computational documents that contain:
- Live codes
- Equations
- Visualizations
- Narrative text.
The Jupyter Notebook can be helpful for a variety of functions. These include learning and teaching a programming language such as Python, and storing and sharing data.
Step 1: The installation
It is important to note that the Jupyter Notebook does not come pre-installed with Python. This means that in order to use it, you will need to install the Jupyter Notebook individually. To do so, follow the steps below:
Visit the project’s official website at https://jupyter.org/
You will be given two options to continue, Try it in your browser and Install the Notebook.
- Try it in your browser: You can choose this option if you don’t want to install the application on your device. This way, you can gain access to a hosted version of the Jupyter Notebook.
- Install the Notebook: Choosing this will take you to another page that offers you detailed information about the installation process.
You will then proceed to the two different ways to install the application as elaborated below:
- Installing the Jupyter Notebook application by using the Python’s package manager pip (CPython)
- Installing the application by installing the Anaconda distribution.
If you’re new to Python or are starting from scratch, choose the second option.
You can click here to visit the Anaconda download page and choose between different installers for Windows, macOS, and Linux to download the software.

Anaconda distribution comes with most of the scientific libraries preinstalled, which includes the Jupyter Notebook. This means that you won’t need any other applications other than Anaconda itself.
Step 2: Starting the Jupyter Notebook server
Now that you have the Anaconda distribution installed, let’s start learning the basics.
- Open the terminal application and go to any folder of your choice.
- Choose a location (the folder or the subfolder, if you’ve created one for this purpose) in your terminal and run the following command:
$ jupyter notebook
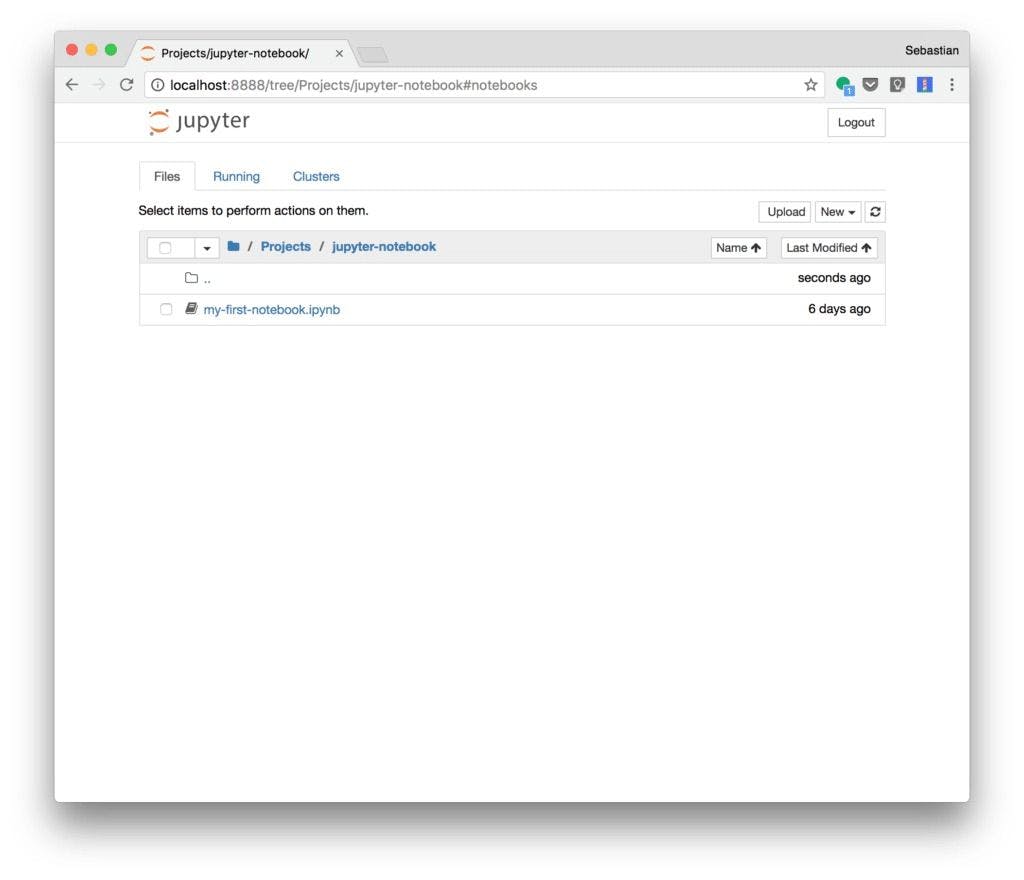
This should start up Jupyter. Your browser will then redirect you to the following URL: http://localhost:8888/tree.
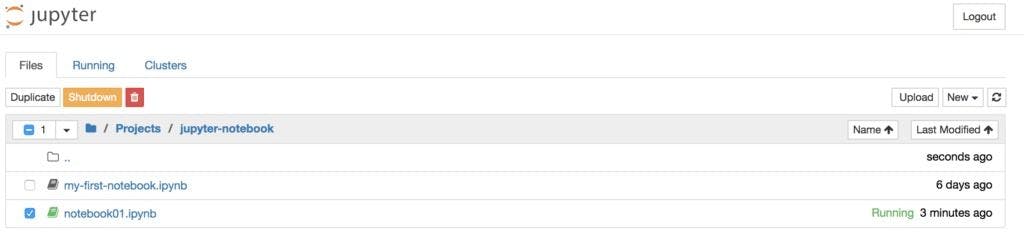
Your screen should now look something like this:
Step 3: Creating the notebook
Now that you’ve learned how to start the Notebook server, it’s time to explore how to create an actual Jupyter Notebook document.
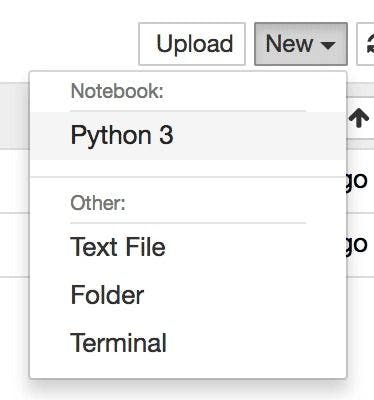
- Click on the ‘New’ dropdown button
- Select ‘Python 3’ from the list of options
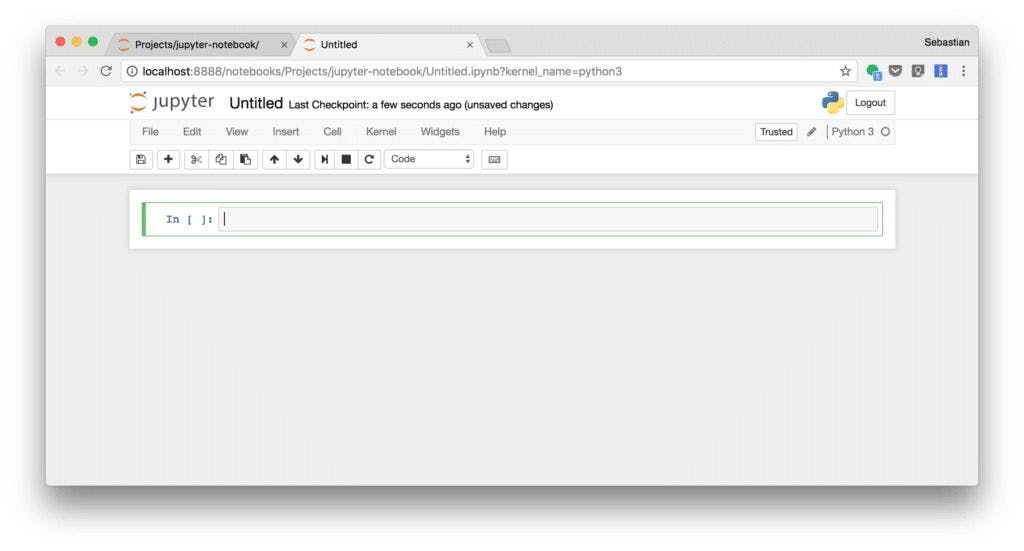
- This will create a new notebook for Python that will look similar to the image given below.
Step 4: Naming the notebook
- You can change the name of the document by clicking on the ‘untitled’ text.
- After naming the file, save the same with the .ipynb extension.
The Running status on the top indicates that the file is opened right now. You can choose to shut down the same by clicking on the Shutdown button.
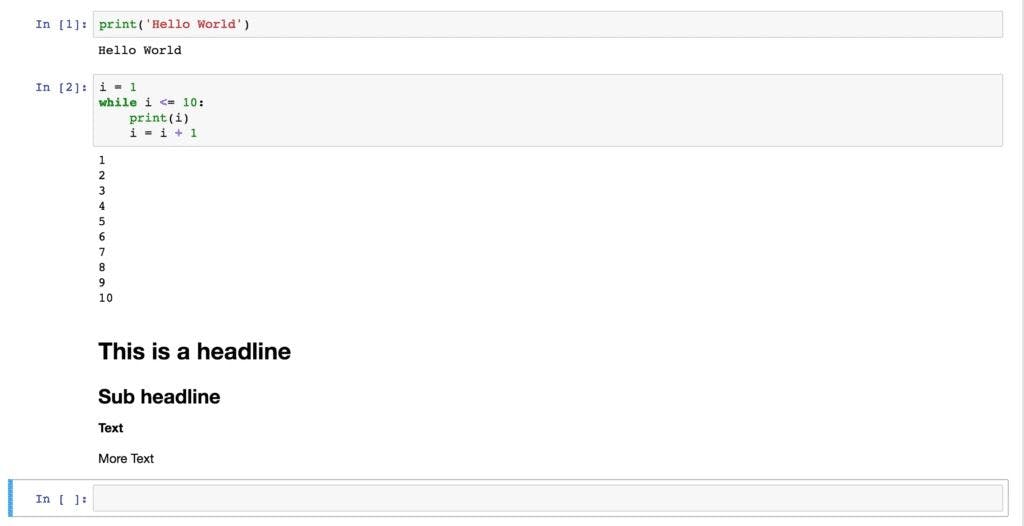
Step 5: Running the cells
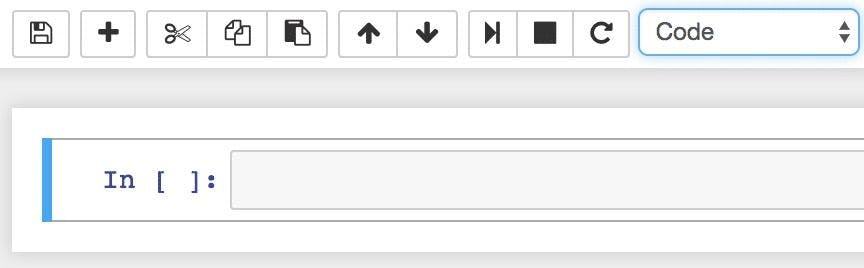
- The notebook is made up of cells. The first empty cell becomes available right after creating a new notebook.
- It lets you type in the Python code directly.
- You can execute code in this cell by clicking on the run cell button or pressing Shift + Return.

- The output is displayed underneath the same cell.
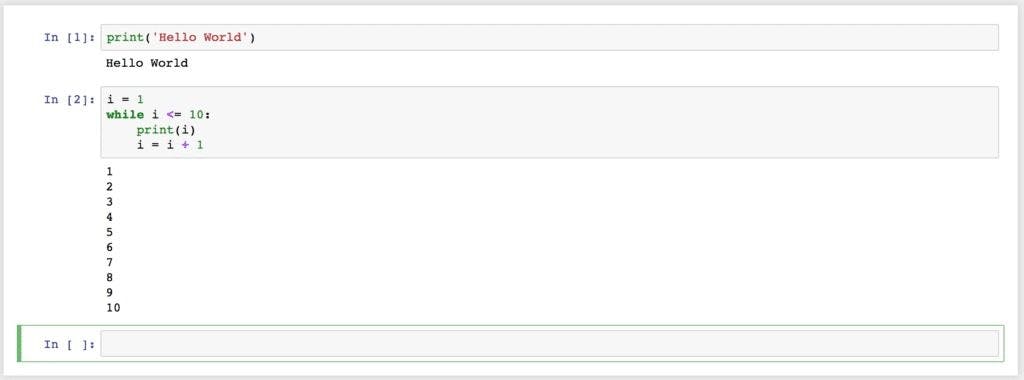
- The next empty cell is automatically created. You can add more codes to that cell if you want to
Step 6: Adding explanatory text
- To include an explanatory text in your notebook, you will have to change the cell type from Code to Markdown as shown in the image below.
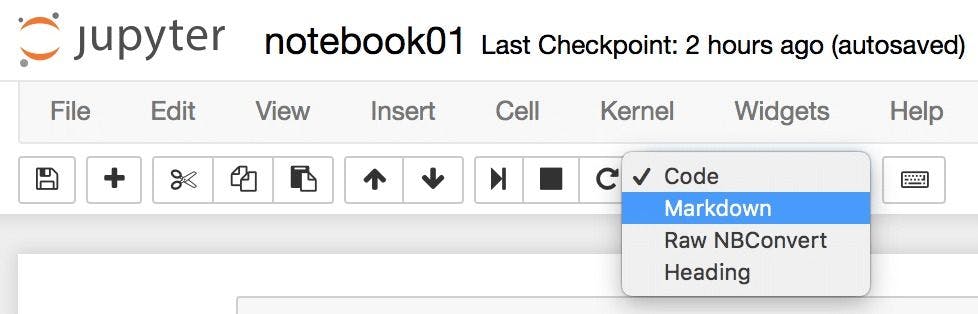
- Once the cell type is changed, you can type the markdown code and compile the cell by hitting the Shift + Return keys.
- The markdown editor cell will now be replaced with the resulting output.
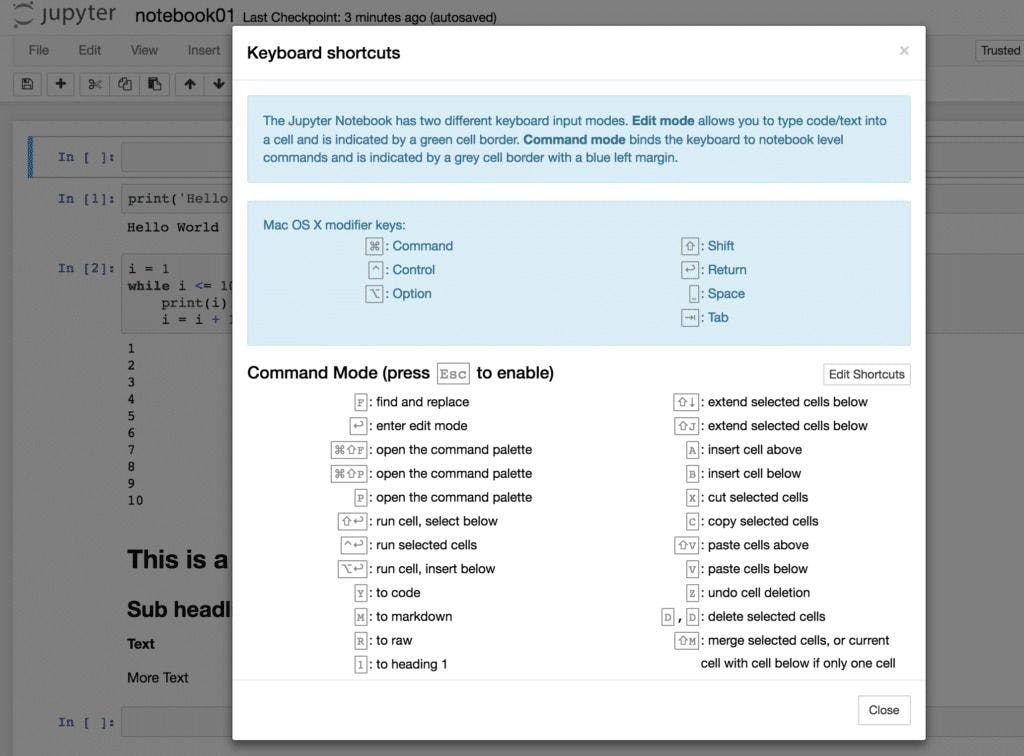
Step 7: Edit and Command modes
If a cell is active, it is usually distinguished by two modes: Command mode and Edit mode.
- If you click on a cell, it is usually opened in Command mode. This is specified by a blue-colored margin on the left.

- If you click on the code area of the cell, it gets you into Edit mode. This is specified by a green-colored margin on the left.

- Hit ESC to return to Command mode.
- Use Help → Keyboard shortcuts to get an overview of the functions available in both the modes.
Step 8: Checkpoints
A useful function of the Jupyter Notebook is its ability to create checkpoints. A checkpoint saves the current state of the notebook, enabling it to be reverted later in case changes were made to the notebook since the checkpoint was created.
- To create a new checkpoint, you can use the Save and Checkpoint option from the File menu (File → Save and Checkpoint).
- This creates a checkpoint and saves the notebook file.
- In case you want to go back to the checkpoint later, you can do so by using the File → Revert to Checkpoint option.
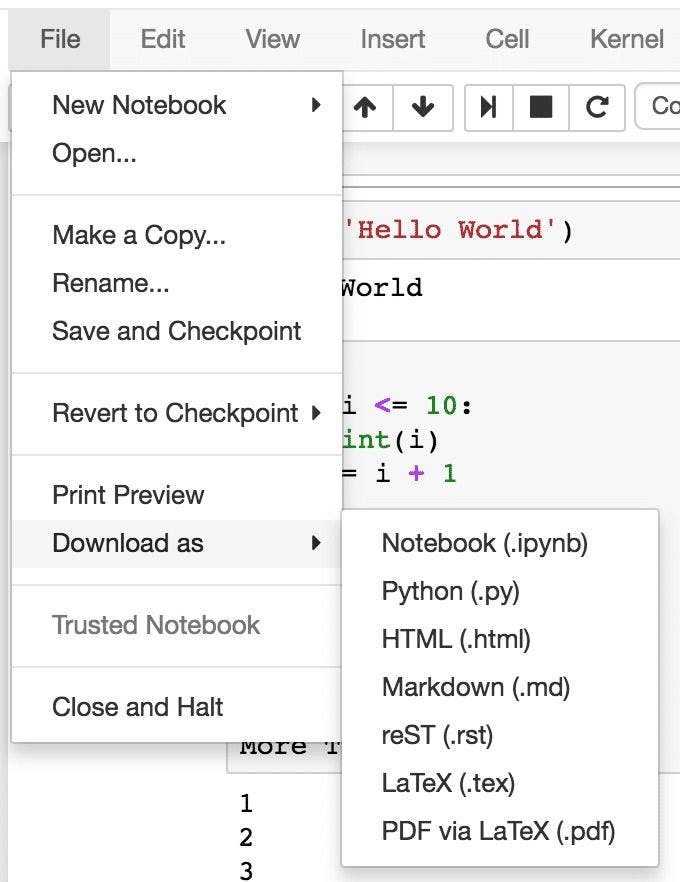
Step 9: Exporting the notebook
- Exporting the notebook can be done by clicking on File → Download as options.
- Choose one from the list of formats that range from .ipynb to .pdf.
Now that you’ve learned the basics of the Jupyter Notebook, you can create your own notebook and use it for upcoming Python projects.
If you want to share your notebook online, you can organize it into a slideshow or upload it to GitHub. You can also use a binder to let your users share a notebook without them having to install anything.
Image credits: CodingTheSmartWay.com