NodeMailer Tutorial: Sending an Email Using NodeMailer 101
•8 min read
- Languages, frameworks, tools, and trends

Communication has evolved tremendously over the years. Emails have become one of the popular go-to methods in recent times, especially for businesses. One of the more sought-after ways to communicate via this channel is by using NodeMailer. This article will discuss how to send email using NodeMailer as well as its many features. It will also cover the SMTP and HTML aspects and NodeMailer’s capabilities.
What is NodeMailer?
NodeMailer is a Node JS module that allows you to send emails from your server easily. It is a zero dependency module for all Node JS-compatible applications. The emails sent can be plain text, attachments, or HTML. Note that you can use Gmail accounts or Mailtrap to set up fake SMTP servers for testing.
Features of NodeMailer
NodeMailer has many features which make it one of the best modules in Node JS.
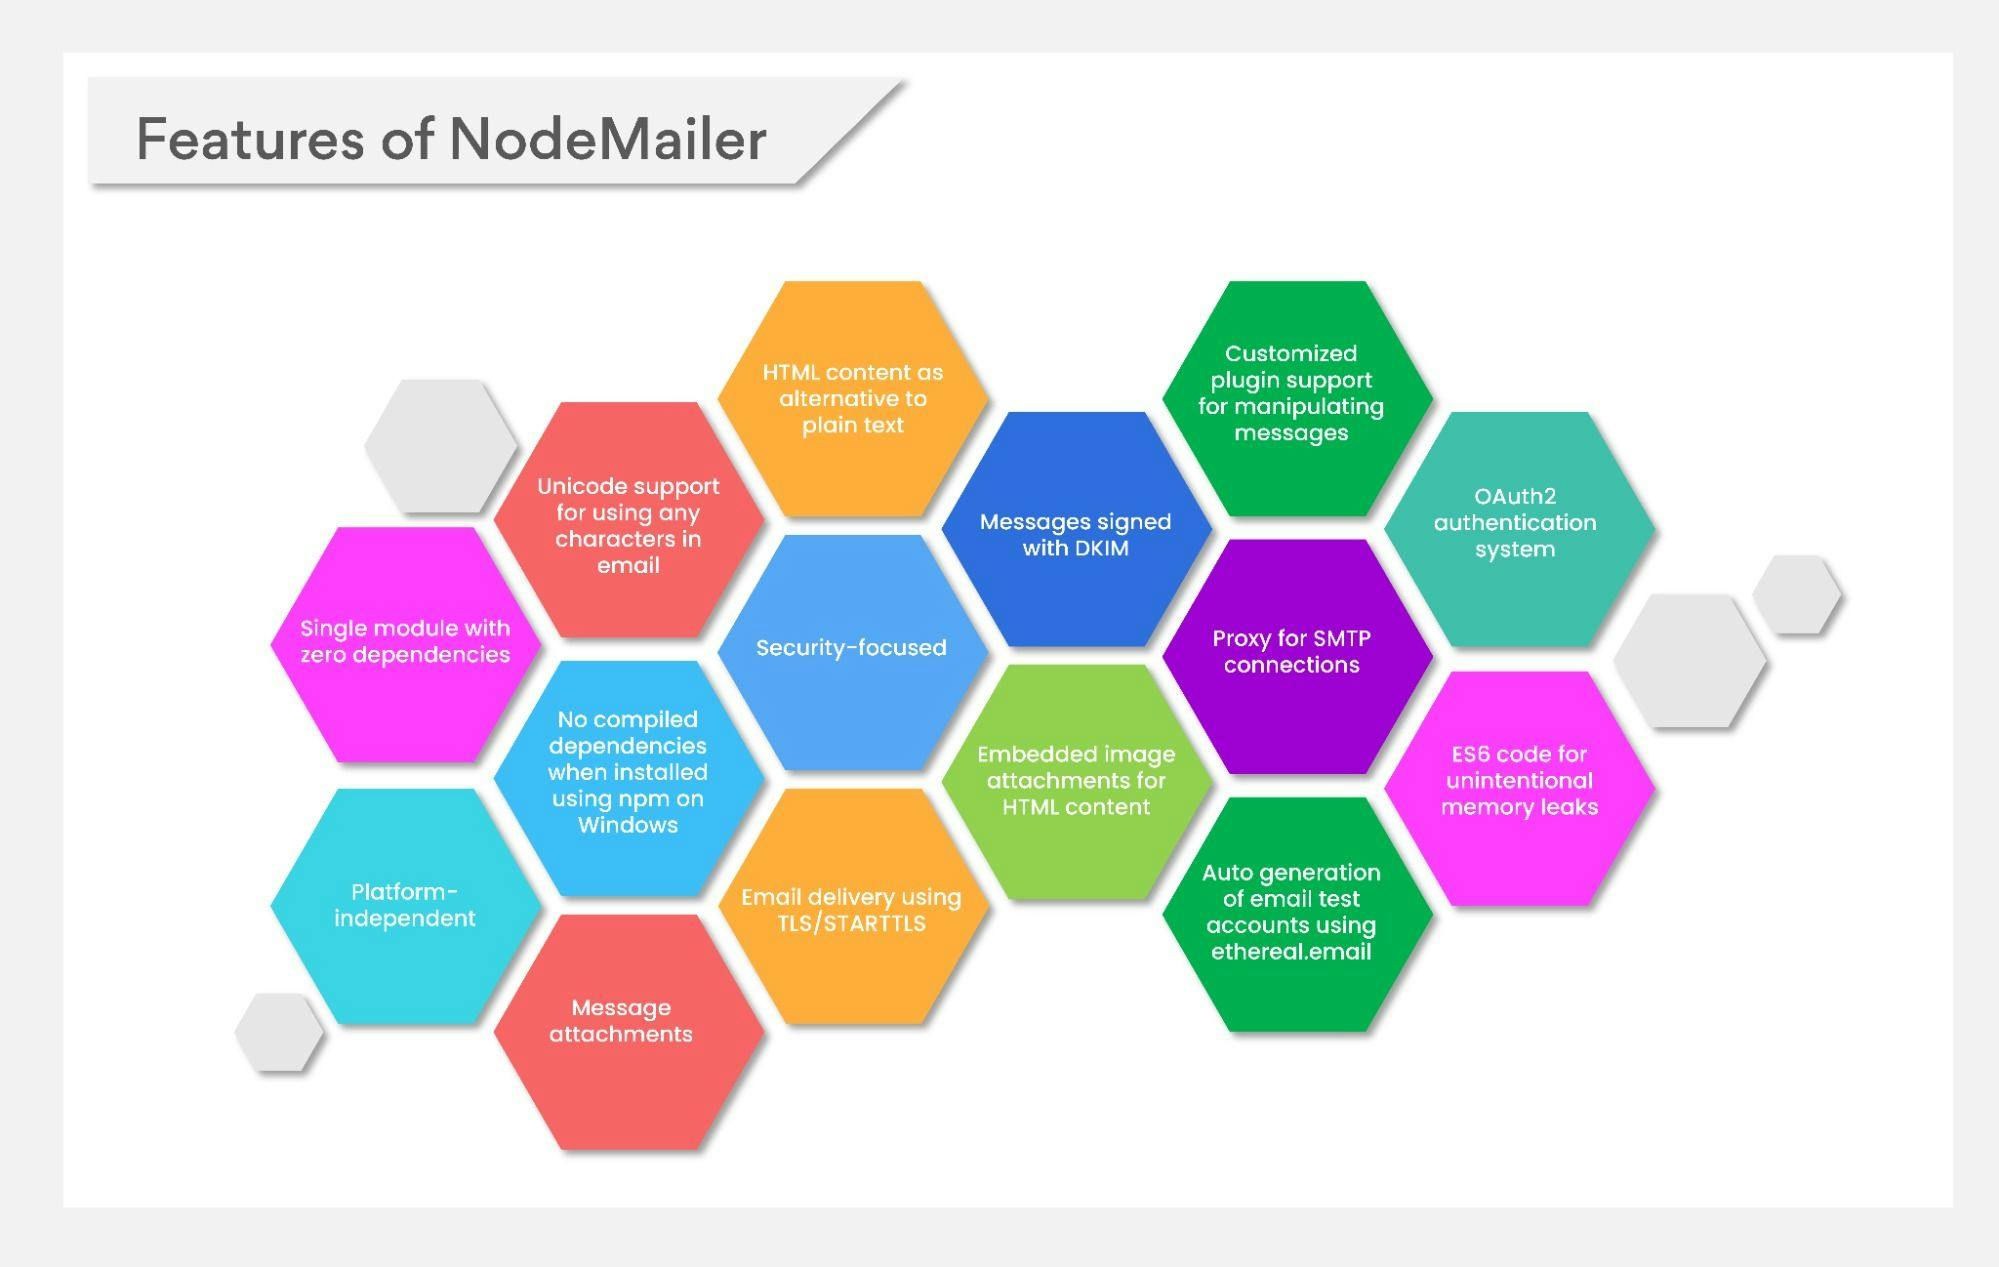
Here’s a brief look at each of them:
- Single module with zero dependencies. The code is easily auditable as there are no dark corners.
- Platform-independent.
- Unicode support for using any characters in email.
- No compiled dependencies when you install the module using npm on Windows. You can get Windows support and use it effortlessly.
- Add attachments to messages.
- Heavy focus on security as no one likes RCE vulnerability.
- HTML content as an alternative to plain text.
- Secure email delivery using TLS/STARTTLS.
- Sign up for messages with DKIM (DomainKeys Identified Mail).
- Embedded image attachments for HTML content to make designs viable.
- Customized plugin support for manipulating messages.
- Different transport methods are other than the built-in SMTP support.
- Proxy for SMTP connections.
- Auto-generation of email test accounts using ethereal.email.
- OAuth2 authentication system.
- ES6 code for unintentional memory leaks.
Getting started with NodeMailer
The NodeMailer module can be used when you run Node JS. There are no platforms or resource-specific requirements for the installation or use of NodeMailer. All public NodeMailer methods support both callbacks and follow-backs.
To begin with, set up your Node JS BoilerPlate using Express. Run the command below to make sure you have Node and npm installed.
When both the commands show a version, it means they are installed. If not, you need to install them before proceeding. Then, create a directory for your project with the command below:
When you go inside the newly created directory and run it using the following command, it will initialize your project with a package.json file.
Next, install Express using:
Open the file you have pointed as your entry point and paste the code below:
With the above code, you can start a simple server using Express. Check how it is running using:
Installing NodeMailer
Use the code below to install NodeMailer:
NodeMailer’s API requires you to perform the following steps:
- Creating a Transporter Object
- Creating a MailOptions Object
- Using the Transporter.sendMail method
To create a Transporter Object, use the following code:
Configuring Google Cloud Platform
Set up a Google Cloud Platform account if you don’t have one. When done, create a new project using the dropdown menu. It will redirect you to a new window where you need to provide a project name.
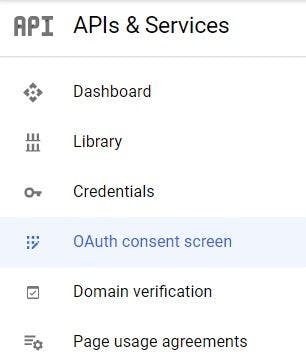
Once the project has been set up, you will be able to see the Admin screen. Open the navigation menu and select APIs and Services. You will need to use OAuth2 to use NodeMailer and Gmail. The next step is to configure your OAuth Consent Screen.
Use the External for User Type option if you are not a Google Workspace member. After clicking on Create, fill out the applicant’s information. Click on Save and Continue, skip the Scopes phase of the configuration, and add yourself as a user.
Configuring OAuth settings
It’s now time to create OAuth credentials for use with NodeMailer. Go to the OAuth Consent Screen, click on Create Credentials, and choose OAuth Client ID. Choose a web application in the application menu.
You will need to add OAuth2 Playground in the Authorized Redirect URIs section. After clicking Create, you will be presented with a client ID and client secret. These mustn’t be shared with anyone!
The next step is to get your OAuth Refresh Token which will be used within the transporter object in NodeMailer. Go to OAuth2 Playground and approve the specific URI purpose.
- Click on the gear icon and check the checkbox for using your OAuth2 credentials.
- Go over the website and you will see a list of services. Scroll down to Gmail API v1.
- Click Authorize APIs and you will get a screen to log in to your Gmail account.
- You will then get a notification screen stating that your Google account is not verified. Skip this step and click on Continue.
- You will need to provide permission for granting access to your project to interact with your Gmail account.
- You will be redirected to OAuth Playground and get the authorization code in the menu. Click on the button labeled Exchange authorization code for tokens. The fields for the refresh token and the access token will be filled.
Sending messages
To send a message using NodeMailer you need to follow three major steps: creating a NodeMailer transporter, setting NodeMailer message options, and delivering a message using sendMail().
Step 1: Creating NodeMailer transporter
An SMTP is the most commonly used transporter, but there are other available options:
- Built-in transports
- sendMail method is a regular sendMail command that can be used for simple messages. It is very similar to the mail() function in PHP.
- stream is a buffer that is used for testing purposes and for returning messages.
- SES is used for handling larger traffic of emails by sending them using Amazon SES.
- External transport for creating a transportation method.
With the help of SMTP, you can set the host as well as authenticate details, port, and method easily. It is important to verify that the SMTP connection is correct at this stage, and then add the verify (callback) function for testing the connection and authenticating it.
For a test email sent with NodeMailer, try Mailtrap, an online tool that helps in the pre-production environment. It catches messages, displays how they look for your client and assists with analyzing and debugging them. Mailtrap also provides Bcc testing options that allow you to share your email testing results with other members of the team.
Even if you don’t have a Mailtrap account, the whole setup process takes only a few minutes. Mailtrap integrates with regular SMTP servers and you can quickly sign up. Once done, go to the SMTP setting, copy the required settings, and insert them into your application’s script.
Mailtrap offers ready-to-use integration with NodeMailer. Select it from the Integrations section and insert it to your application code. It already contains a transporter and syntax attributes.
You can also use auto-generated email test accounts on Ethereal, which is also a fake SMTP service mainly used by NodeMailer users.
Note that NodeMailer has introduced the NodeMailerApp which will provide Sendmail replacement, and is mainly designed for debugging emails.
The NodeMailerApp has SMTP and POP3 local servers - a catchall email domain server with preview capabilities. You can also use Mailtrap Email Delivery to send emails to recipients after testing. The setup and verification process only takes minutes. The SMTP settings are readily available online and can be copied and pasted to your application.
Step 2: Setting NodeMailer message options
Now, specify the sender, recipient, and the content of your email. Unicode is supported so you can include emojis in the content as well. No extra attributes are required to send a text formatted as HTML. All you need to do is put the message in the body HTML. For advanced templates and images, use the code below:
To add different types of data to your message using NodeMailer, try the following properties:
- content: The body of your attachment can be a string, stream, or buffer.
- href: Attachment URL and data URLs are supported.
- filename: This is the name attached to your file. You can use Unicode as well.
- path: This is the path of the file for streaming it instead of including it in the message. It’s a good option for bigger attachments.
Optional properties will let you add specific content types or inline images:
- contentType: This will be inferred from the filename property if you don’t set it.
- CID: This refers to inline images in the HTML message. When attaching images to HTML emails, the CID value must be unique.
- Encoding: This can be added to the string type of the content. It will be encoded to the content to a buffer type as per the encoding value you have set.
Step 3: Delivering a message using sendMail()
Once you have created a transporter and configured a message, you can send it using the sendMail() function as below:
Businesses that want to have email IDs such as ‘noreply@xxx.com’ can easily set up the email subdomain once they have the main domain. When you develop an email feature using a client’s email and don’t have access to their email credentials, you can create an alternative email for the sole purpose of sending one from your application. You can find it by going to Settings in Gmail -> Accounts and Import. There is a Send Email As section and an option to add an alternative email address.
With this NodeMailer tutorial, we have learned how to create and send an email via SMTP as well as how to create different content types like lists, embedded images, HTML, attachments, and tables. The major benefit of NodeMailer is that it offers many options and settings for customization. Plugins can help enhance its capabilities with email templates, loggers and helpers, mailer classes, utilities for sending authentication emails, and modules of emails using Node JS’ implementation of various APIs.
FAQs
1. How do I send bulk emails with NodeMailer?
Ans: You can send bulk emails with NodeMailer by:
Using a dedicated delivery provider
Using pooled SMTP
Using a dedicated queue manager
Using file paths and not URLs for attachments
Setting maxConnections to whatever your system can handle.
2. Is NodeMailer an API?
Ans: NodeMailer is a module for the Node JS applications that allow for easy email sending. Its API is simple: it requires you to create a transporter object, MailOptions Objects, and use the Transporter.sendMail method.
3. What is NodeMailer SendGrid transport?
Ans: NodeMailer SendGrid transport is a transport plugin that makes it possible to send email through SendGrid’s Web API.
4. How do I send a picture with NodeMailer?
Ans: To send a picture using NodeMailer, you can use the embedded images in the HTML body directly. For this, you should set an additional property of the attachment - cid, which is a reference number for the attached image. The same value must be used in the image URL in HTML.